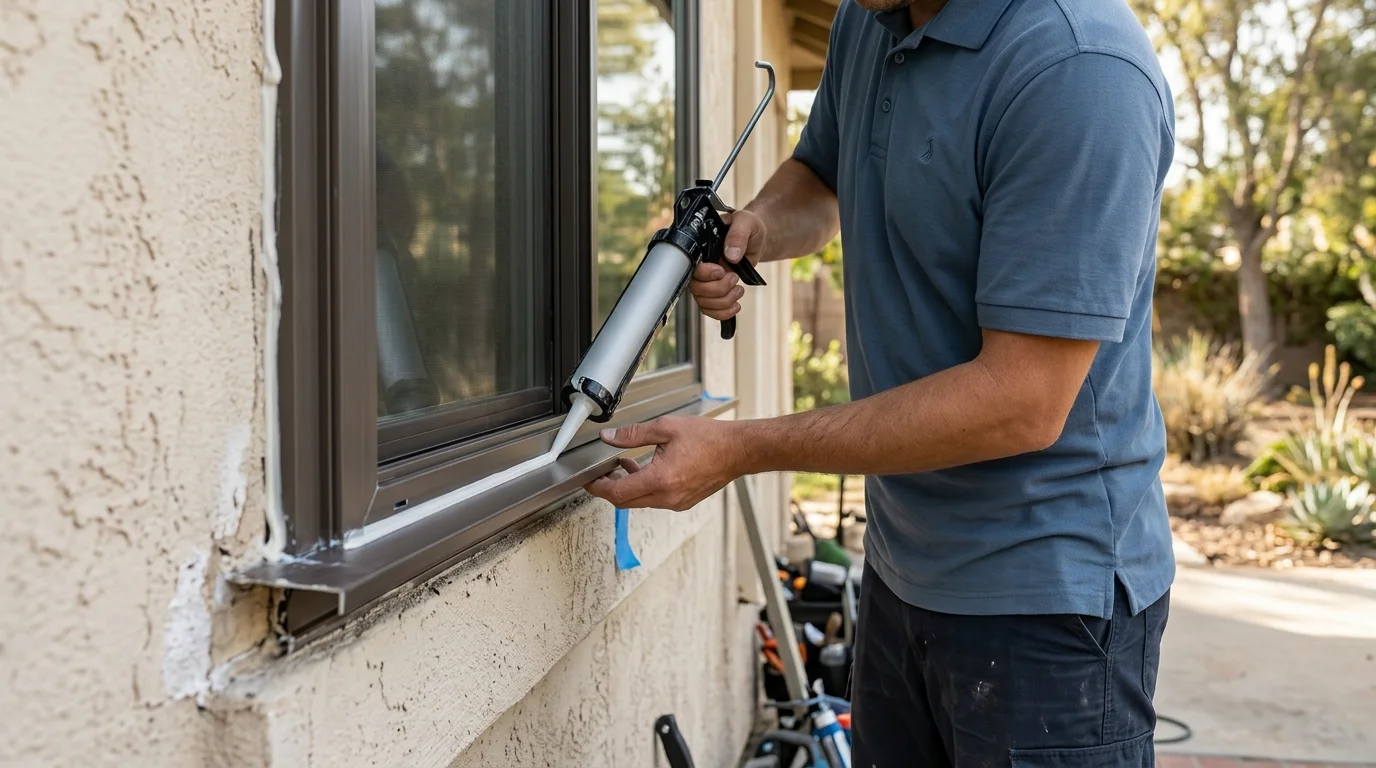
The right window sealant starts with the joint, not a universal “best” tube. Match the product label to the location, adjoining materials, exposure, and manufacturer’s joint instructions. If water keeps returning, don’t assume another surface bead will solve the underlying problem.
We couldn’t verify one universal sealant chemistry, cure time, lifespan, or coastal durability figure. The product manufacturer sets those specifications for each product and application. Check the current technical data sheet before buying or applying any product. That sheet should identify approved surfaces, preparation steps, application limits, and cleanup instructions.
Where water actually gets in around a window
Start with the first visible evidence, not the largest puddle. Water on an interior sill doesn’t identify its original path by itself. The source may be near the frame, elsewhere in the window assembly, or above the opening.
Document what you can see before removing old window sealant. Take clear photos of these areas:
- The top, sides, and bottom of the exterior perimeter
- Every place where sealant meets the frame
- Every place where sealant meets stucco, siding, or trim
- Corners and transitions between different materials
- Interior staining, softened finishes, or peeling paint
- Fogging or moisture that appears between glass panes
- Any opening, slot, or channel built into the frame
Don’t fill an unfamiliar frame opening just because it resembles a gap. Find the window manufacturer’s instructions or ask a window professional to identify it first. A deliberate frame opening shouldn’t be treated like a failed perimeter joint without confirmation.
Timing also matters. Record whether moisture appears during rain, after exterior washing, or when indoor humidity is visible on other surfaces. Note which side becomes wet first. Photos taken before and during the event give a professional more useful evidence than a dried stain.
Avoid using interior caulk as a diagnostic test. A fresh interior bead can change what you see without proving the exterior path was corrected. If the source remains unclear, arrange a focused window repair assessment before repeatedly covering the same joint.
Exterior sealant vs interior sealant vs backer rod
Exterior window sealant and interior caulk shouldn’t be treated as interchangeable. Choose each product from its current label and technical data sheet.
For an exterior perimeter, confirm that the manufacturer approves the product for exterior window joints. The instructions should also name both surfaces at your joint. A product approved for one frame material may not be approved for the adjoining stucco, masonry, wood, metal, vinyl, or painted finish.
For an interior joint, check the label for indoor use and the actual finish materials. If the bead will be painted, confirm paint compatibility rather than assuming it. Also check ventilation, cleanup, and cure instructions before starting.
Color isn’t a performance specification. “Exterior,” “waterproof,” or “all purpose” on the front of a tube also doesn’t replace the detailed application instructions. Read the full data sheet and check the product date or storage directions shown by its manufacturer.
Backer rod needs the same discipline. If the manufacturer’s joint detail calls for backer rod, follow its specified material, fit, and sealant depth. Don’t improvise those dimensions from a generic article. If the instructions don’t address your joint shape, contact the manufacturer or let a professional specify the assembly.
San Diego County includes coastal and inland conditions, but there isn’t one approved sealant specification for every property. The joint at an Oceanside stucco home may involve different surfaces and exposure than one in Escondido. The product must match the actual assembly in front of you.
Stucco perimeters and the joints that fail first
A stucco window perimeter can show several different lines that resemble one caulk joint. Map each line before deciding what to remove.
Look separately at the frame-to-sealant edge and the sealant-to-stucco edge. Then inspect nearby stucco, trim transitions, corners, and the area above the window. A visible crack beside the bead shouldn’t automatically be labeled a sealant failure. Its location and movement need to be identified first.
Old material may appear split, loose, discolored, or separated from one surface. Photograph those conditions before touching them. If removal is appropriate under the product instructions, protect the frame finish and avoid cutting into concealed materials. Don’t apply new window sealant over loose material unless the manufacturer specifically permits that preparation method.
Stucco texture can also make a continuous visual inspection difficult. View the perimeter from several angles. Use bright, indirect light to reveal small separations. Pay close attention where a straight bead meets a rough surface or changes direction at a corner.
Central San Diego, the South Bay, coastal North County, inland North County, and East County don’t share one window detail. Homes in North Park, Chula Vista, Encinitas, Vista, Poway, and El Cajon may have different frames, exterior finishes, and prior repairs. Choose from what’s visible and documented, not a regional shortcut.
If the stucco itself appears damaged or the joint disappears behind trim, stop before covering it. A new surface bead may make later diagnosis harder. A window professional can help separate a limited perimeter repair from a larger frame or wall-opening concern.
UV and salt air: why coastal beads fail sooner
Coastal exposure deserves attention, but it doesn’t justify an invented lifespan. This site couldn’t confirm a reliable number of years, a distance-from-ocean threshold, or a universal failure rate for window sealant in San Diego County.
For homes near Imperial Beach, Point Loma, La Jolla, Encinitas, or Oceanside, inspect what’s actually present. Note visible residue, direct afternoon sun, wind-driven weather, sheltered sections, and the direction each window faces. Compare exposed and protected portions of the same bead. That gives you property-specific evidence without pretending every coastal home behaves alike.
Before choosing a product, look for manufacturer statements covering:
- Exterior UV and weather exposure
- Coastal or marine limitations
- Approved frame and wall materials
- Surface cleaning and preparation
- Required primers, if any
- Application and cure conditions
- Paint and finish compatibility
- Joint movement and sizing instructions
If the data sheet doesn’t address your exposure or substrate, ask the manufacturer a precise question. Name the frame material, wall finish, joint width, and coastal location. Keep the written answer with the product information.
Don’t rely on “marine,” “premium,” or “long lasting” without checking what the manufacturer supports for that exact application. Product formulas and instructions can change. The current data sheet controls the decision.
Our guide to windows for coastal salt air in San Diego covers broader frame and glass considerations. For caulking, stay focused on the specific joint and the documentation for the product being considered.
When resealing is a fix and when it is a delay
Resealing is a reasonable repair candidate when the concern is limited to an accessible perimeter joint and the surrounding frame and wall appear stable. It’s still a candidate, not a guaranteed diagnosis. The old material, adjoining surfaces, and installation detail need inspection first.
Treat resealing as a possible delay when any of these conditions appear:
- Water returns after earlier perimeter work
- Staining begins above or away from the window joint
- The frame feels loose or visibly distorted
- Stucco or trim beside the opening is damaged
- The sash no longer closes or locks normally
- Moisture or fogging appears between glass panes
- The work would conceal an unidentified opening or channel
- The proposed repair conflicts with manufacturer instructions
Those signs don’t establish one cause. They show that another tube of window sealant may be too narrow a response. Compare the repair scope with the practical issues in our guide to window repair versus replacement.
Replacement becomes a separate project decision. Window Pro SD doesn’t perform the work or set the contractor’s terms. We connect homeowners with licensed, independent local window professionals who inspect the opening and propose their own scope.
Before hiring, ask the contractor to identify the failed joint in writing. Request the product name, approved substrates, preparation method, and responsibility for adjacent stucco or trim. Confirm the contractor’s current record through the California Contractors State License Board.
Don’t accept a replacement recommendation based only on an aging bead. Likewise, don’t insist on caulking when the evidence points beyond the perimeter. The useful answer comes from matching the visible condition to a documented repair scope.
When to call us
Call when water keeps returning, the joint can’t be identified, or the frame and surrounding finish also show damage. Call us at (858) 400-6418 and we’ll connect you with a licensed local window contractor.